Monday, 22 July 2013

Rustic farmhouse table legs...

Well this has taken forever. It didn't help that I got struck down with tonsillitis! I thought it was a wintry illness for children. How wrong I was. You can absolutely get it when you're 43 in the middle of a heatwave. I think it must have been the stress of the arduous table lightening process that got to me. That and a school trip to the woods. In an un-air conditioned coach. It surely was a disease just waiting to happen.

 Anyway, I have scraped myself out of my sick bed (Sick bed? Fat chance!) to bring you the latest in the ongoing saga of our dining table. I think this is part four.Yes I probably do need to get out more.

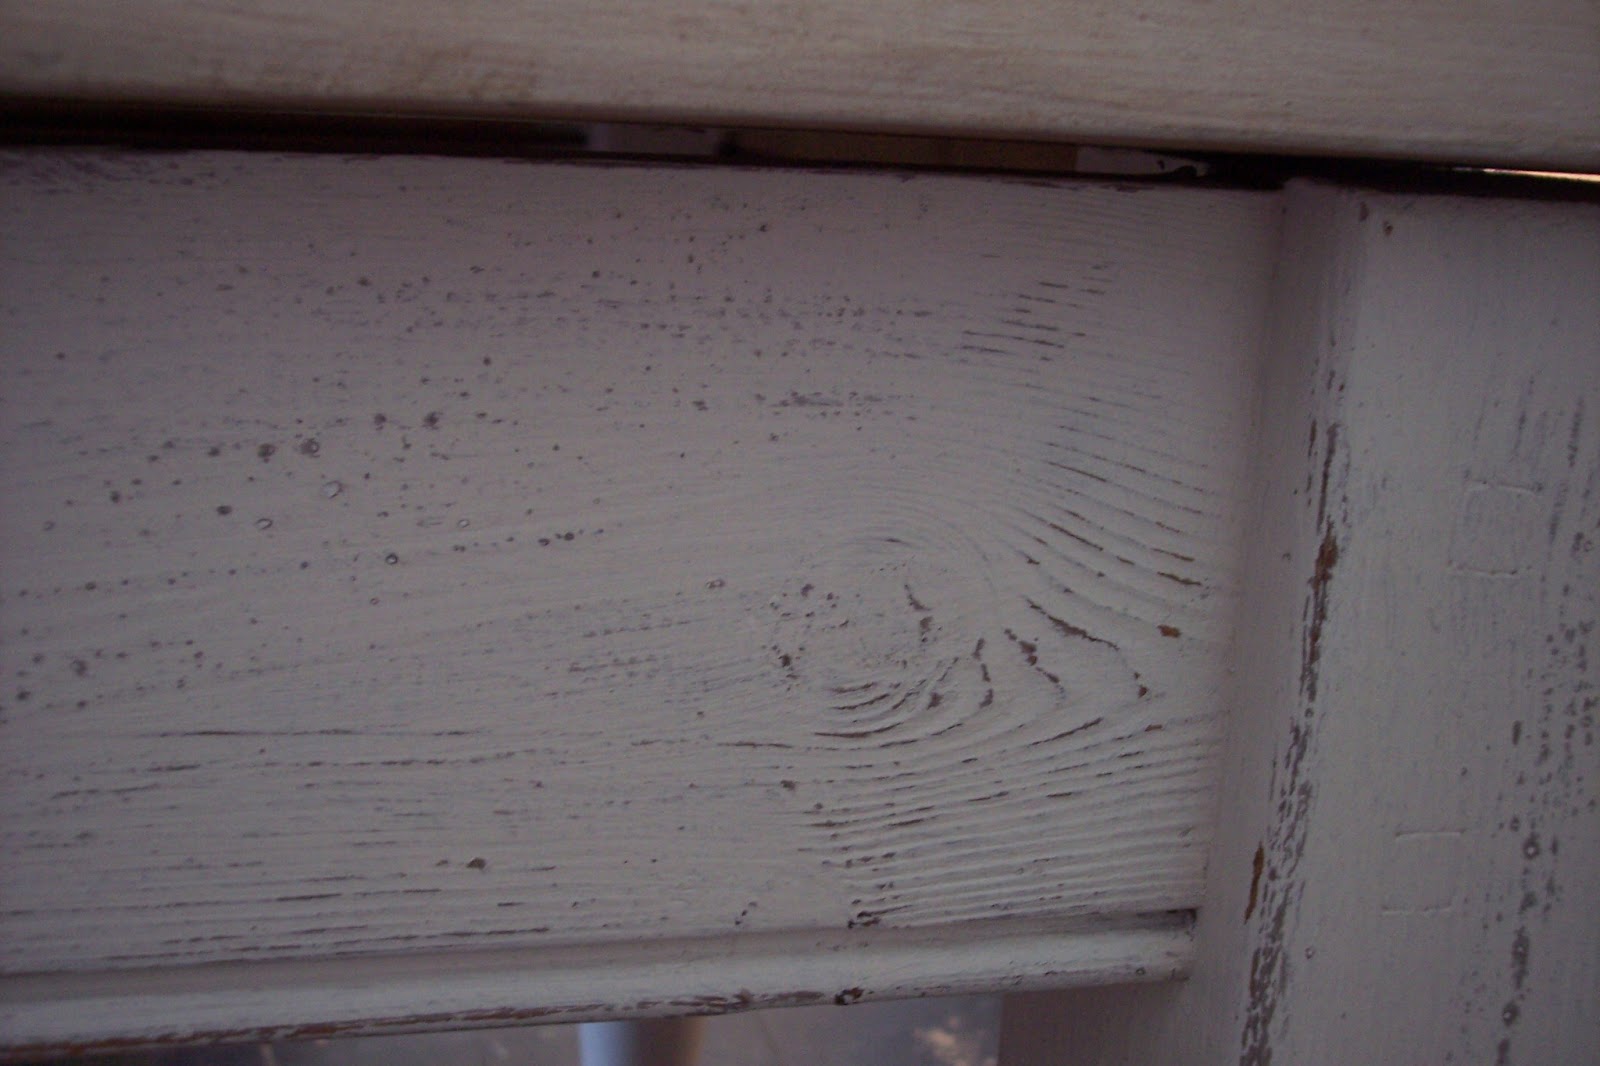
Here are the legs before...


  ...and after...


...up close...


I tried some 'actual colours' and some blended techniques and it just looked pants. (But I really did try.) This was light brown home made furniture paint (plaster of paris) and  just emulsion over that. I forgot to sugar soap (slaps wrist) but I got away with it and I'm happy with the result. It looks a bit beachy.

I read on someones blog first that they always do the legs or body of a piece before they do the wooden top. I don't get this. I always do the tops first. You never know exactly what colour it's going to be until it's done and then you can choose your paint accordingly. The creamy colour here is ON DECK by Wilkinsons which was a perfect colour to go with the top and covered nicely in one coat. I did the top coat of the legs with just 2 tester pots costing £1 each. Bargain! Those tester pots go a long way.

I think I've decide on a wall colour which is a bit more sophisticated than the Pale Powder F&B that's there. And cheaper.

The plumber is coming to take off the radiator this week to allow me to get all the painting done. Then the floors and skirting boards can go in. And won't that make a difference? I cannot wait to say goodbye to the black floor!

I still have a lot to do. You're going to be so fed up of my dining room before I'm done! Back soon with dining room lighting...

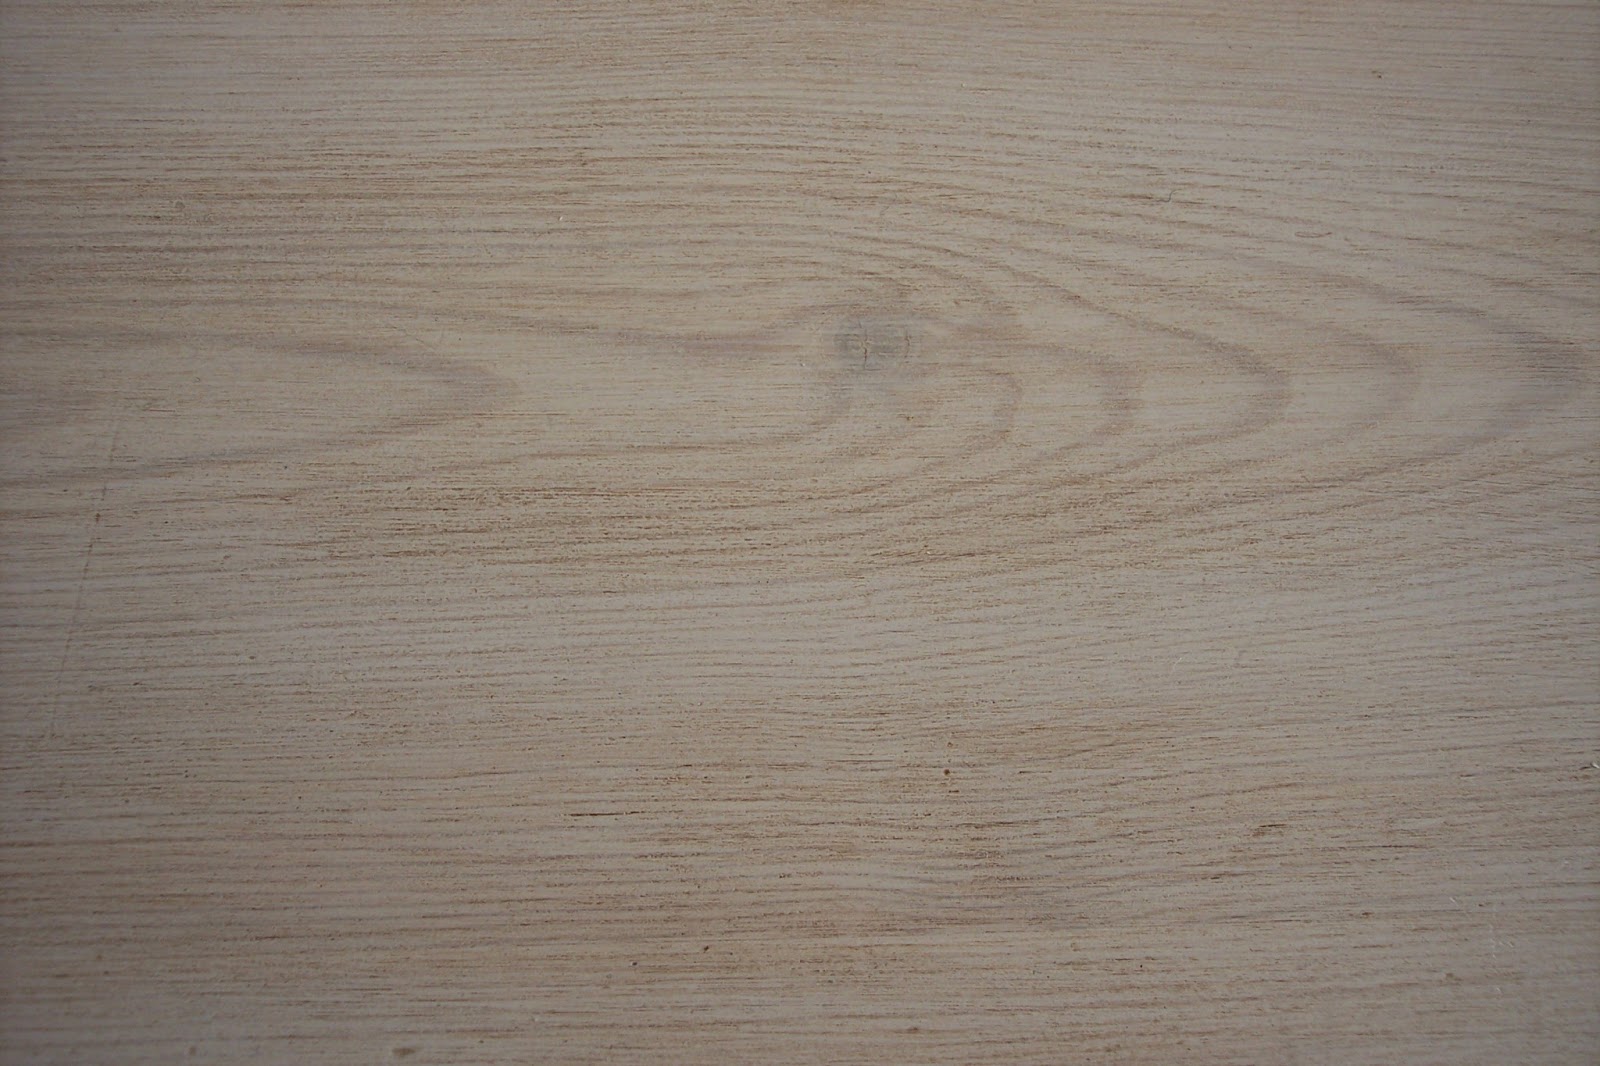
If you want to see how I got the top so pale check my previous posts.


Thursday, 18 July 2013

Wood bleach results...and a scrubbed pine table top

Well, I've been having a very interesting time in my chemistry lab otherwise known as the dining room. I'm pleased to report that there was no chemical reaction involving white spirit, lighter fluid and wood bleach and that I'm still here to tell the tale. (Don't try this at home kids! I left ample time for all sovents to evaporate before applying the next one!)

Let me remind you of the lovely table I started out with and accidentally ruined...


Good bye lovely patina!

Oops. But it is very clean now. That's got to count for something on a dining table?


Time to bleach!
I was pretty concerned during the bleaching process. It looked very patchy. Some areas had crusty white flaky bits. Others appeared unchanged. I applied it so liberally that there were puddles! I thought I'd stuffed it completely up.

But after one treatment with a 2 part wood bleach...


Oh yeah! Much better!  But you remember my experimentation on the oil smeared table leg?

After one treatment: oil can be seen...


Well, I experimented further and did a second bleach treatment on the lower section of this leg...

(Top: 1 bleach treatment. Middle: left alone. Bottom: 2 treatments)
And would you believe it? The oil spot is GONE! Yay! This is good news for the grease marks on my table top!

So seeing as I'm an all or nothing kind of girl, I thought I'd do another bleach treatment on the top because any wax or varnish will darken it...( you have to wait 2 hours between treatments.)

To be honest, I couldn't see a huge difference after the second treatment. I then used my table leg test zone and applied clear wax on one area and clear varnish on another area. This was hugely dissapointing. Both of them darkened the pine and brought out the orange again.

I realised that in order to get the paleness I was after, I would have to use paint which is exactly what I thought I could do without, having used the bleach. I made up a wood wash of F&B Cornforth White and water and applied this. You have to do this in the direction of the grain and drag your brush from one side of the table to the other with no breaks. If you keep lifting your brush you get a patchiness that looks like a bad paint job rather than an old bleached table top.

After the paint wash had dried I was REALLY pleased!


and up close...


Next I had to make another decision. Wax or varnish. Wax looks best as the wood still looks like wood. But I used this on my last dining table and it didn't stand up to grease stains. It's just not relaxing to have people over for Sunday lunch and have to scream at them if they spill the gravy on the table. Varnish can look very plasticcy and can sometimes detract from the wood. But it offers far greater protection.

Here's what I use- both. First a very thin coat of water based matt varnish following the wood grain. Then an incredibly light sand and one more thin coat dragging the brush from one side of the table to the other again, without lifting. This gives you a flawless smooth finish with no patchiness but you've got to work fast as it dries fast! If you're wanting a pale finish, NEVER use oil based varnish as it's always more yellow and darkens further over time.

This is what I use.


After the varnish dried I moved onto wax. I used the darkest wax I had. The table top was beautifully pale but also very new looking! I want it to look like an antique farmhouse table so it needed dark wax to add age and character. (All this obsessing with paleness and now DARK wax? Trust me, it works!)

If you use a matt varnish and wax, the wood still looks very much like wood. The matt varnish takes the wax beautifully. It gives you great protection against spills. (I'll still have to use coasters and mats for hot things.)

I also gave it a sound thrashing, firstly with a lingerie bag filled with screws, then a lingerie bag filled with teaspoons. Just to stop this looking all perfect and new. Hopefully.

Blooming heck, this is an absurdly long process! And I'm not even onto the legs yet!
Want to see the completed table top? Is anyone still out there and reading this? Does anyone care?

Sooo, the whole process without dark wax...


and with dark wax...


...just a bit older looking.


Ta daa! So today I'm hoping to start on the legs. I want a crusty old finish. I'm not entirely sure of all the colours I need.
Come back and see the completed table soon. Hopefully!

P.S. I have not been paid by Ronseal or Rustins (the bleach) for this post. I just want to tell you the products I used.
Furniture Feature Fridays

Sunday, 14 July 2013

My new desk...

I have a new desk!

Excuse the extension cable! We need a new socket.


Remember THIS?


Well, I just wasn't getting around to finishing the stool. So this poor thing has been shuffled around from room to room, driving the husband mad in the process. But I started thinking, would it fit in the living room? And we've decided to get rid of some furniture we never use, and this now fits beautifully. 

I went to the boot sale with my dear friend yesterday and scored some treasures. Most of them all from the same lady.

I love a bit of vintage wire! 

Possibly for the kitchen or the bathroom.

For my new desk!

  A beaten up old metal filing box.


  French sheet music with a lovely cover.


And at Fridays flea I got this lovely crate with a delightful label. 
Come on, you didn't think I could do a post about my new finds without there being a crate involved?


I love this label.


 One day I will show you the armoire type thing that sits on the upstairs landing where the crates live. We have a tiny bathroom with no storage so all the towels and things go in the armoire. Which is crying out for a makeover. Obviously.

Inside this crate, folded up in the bottom was this bit of paper...


I don't know if this shop still exists in West Ealing but we have family there so I can find out. I thought it'd be cool to paint onto a plain crate. And that might be mouse poo folded up in it. Nice.

I've done one bleach treatment on my table top and it's drying out as I type. I think I might do another tomorrow.

Come back soon to see if it's worked!
blackbirdhasspoken
 
125x125

Thursday, 11 July 2013

Experimenting with wood bleach...

All righty roo, I just know you're all desperate to know how the wood bleach is working out. What do you mean, you're not? You're reading the wrong blog then. Because this is what I have discovered thus far!

I bought a 2 part wood bleach as apparently this is best for taking the natural colour out of the wood. There are other products that are more suitable for removing wood dye or water staining.

Here's what I'm using:

 Because my table is old and has been well used, I have had to thoroughly remove any wax from the surface by scrubbing it with fine wire wool and white spirit. And then I had a little panic and did it all over again. Just to make sure.

The problem I have is that there are some grease marks which have not lifted out. They have penetrated into the pine.

Can you see them?

I wanted to see how the bleach would work on these areas, so on the table leg where I removed the wax, I smeared a fingertip dipped in olive oil. 

Then I applied part A of the bleach.


(This leg will be painted over so it's perfect to experiment on.)

Bleach part A is on the darker areas of the picture. I left the middle dry for a colour comparison. At this point the bleach treated bits look darker because they're wet. I didn't apply it as liberally as I might on a flat table top as it was running. I let that sit for 10 mins. It said 10-20 mins but I'm impatient.

I did the second coat with part B and saw an almost immediate lightening. You're supposed to leave it for 2 hours. After one and a half hours I wanted to go to bed and the wood didn't seem to have lightened any further so I cleaned it off with a cloth and water.

Here's the result when it dried:


As you can see, the oil spot hasn't bleached. Hmm....
There is a difference in the bleached areas. It's not as big as I was hoping for. This could be because I didn't apply as liberally as the instructions suggested. Also the picture is not great as it was taken at night.

The picture below might be better to show the lightened areas. 

This picture might be just as bad actually.

So what to do about those grease spots? After 5 mins of net surfing I read that lighter fluid can get them out. Tracking that down was a bit tricky.
And really, I think I may have killed a few brain cells, even though the window was open wide, but I can't see much difference after using that. If any.

So I'm embracing imperfection and going ahead with the wood bleach anyway. Apparently you can even do it twice if it's not light enough the first time around.

So stay tuned for the next gripping instalment of 'adventures with wood bleach' and I should have a pale scrubbed pine table top to share with you next time.

If you think I'm being a bit half arsed and slow about this, let me tell you I am not! The white spirit needs a couple of days to disappear before you can apply the bleach. And the quest for lighter fluid delayed me further.

Plus I have been living with a great fear that the TV people will phone and say, ''Can we pop round tomorrow?'' so I have been painting the hallway furiously to remove all tiny hand prints and  even painting skirting boards! Because telly folk care about these things. Probably.

 Linking with Funky Junks Party Junk


Sunday, 7 July 2013

Table trauma...

Remember I showed you my dining table?


With it's lovely aged patina? Well, I waxed it and it looked a bit orange. I hated it. So I wet some wire wool with white spirit and scrubbed the wax off. It turns out that lovely aged patina was mostly dirt. (Eew!) It all scrubbed away leaving a rather unsplendid looking newish pine table.

Oops.


I've killed it.
It dried paler but it still looks orange to me.


Table leg before

Table leg after

What I'd like is a Scandinavian looking pale scrubbed pine table top. Like this:


(This is rougher than my table)

I could do this in several ways.
Firstly with a paint wash to add paleness with the wood grain still showing through. I did this on my last table. Second, I could use a white wood dye which would penetrate the wood further than paint sitting on the top. And third, I could use a wood bleach to actually take the natural colour out of the wood. And this third method is what I'm leaning towards. I like the idea of taking out the colour rather than adding whiteness. More honest.

I have never used wood bleach before. To get the best result apparently I need a two part wood bleach which can be tricky to use and the surface is large so it's going to be hard to get an even coverage.

I was hoping this table would be our 'forever' table. If this goes wrong, it will just be another one of the many tables that come and go from this house. Boo hoo.

Today was my 43rd birthday. It's been a perfect day incorporating a boot sale and a bit of table scrubbing. What more could I ask for?

The greatest gift I ever received was exactly seven years ago tomorrow. A slightly late birthday present.


So the bunting is out for double celebrations.


Tonight I shall be catching up with the rest of the country by watching the first episode of the new series of Luther. Cannot wait!


Saturday, 6 July 2013

Guess what I've been up to?

I'll give you a clue: I haven't been working on the dining room.


It was a little bit of this...


...a lot of this...


and some of this
...unfortunately.


And we almost had a couple of stowaways...


I've a lot of blogs to catch up with!