Tuesday 25 March 2014

How to install skirting boards (and how not to...)

Well, the skirting boards have been installed. More importantly, they haven't dropped off yet.


It was a learning curve. Here are my top tips:


  •  Before you order excessively long skirting boards, you might want to measure your hallway so that you know they will actually fit through the door. 


  •  REMEMBER that many skirting boards are double sided (Ogee and Torus) so don't have a little freak out that they don't match and go running out of your house shouting at the delivery guys as they're pulling away, ''They don't match!''  You'll just feel like an idiot when they point this out. 


  •  Remember the double sidedness also when you're cutting and installing your boards. Unless you're going for an 'eclectic mismatched' look. (It's not going to fool anyone.)


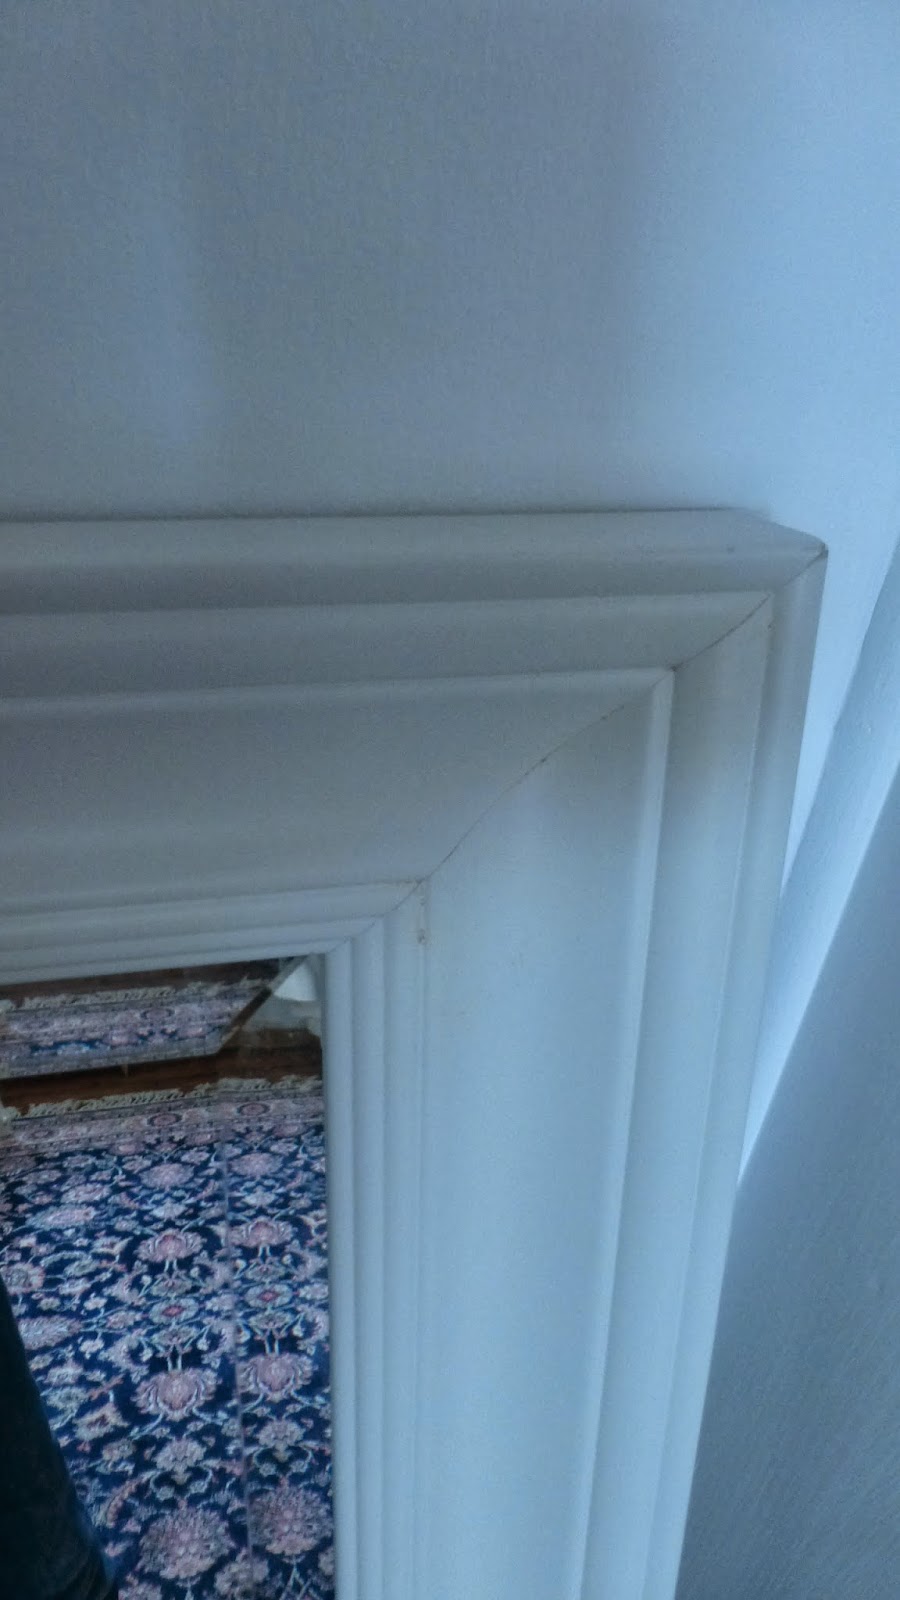
Imperfect external corner... past caring at this point.


  •  Internal corners for some reason are meant to be like this...


The first is attached as a butt joint. The second has the profile of the first drawn onto it and you cut along the line with a coping saw. I don't know why you can't do an internal mitre cut. Perhaps because rooms aren't square?

If you want to do it like a pro, have a little practise with the coping saw on an off cut to make sure you can do it.

  •  Watch this guy...


He explains those strange corners far better than I ever could and makes it easy. It's also thoughtfully subtitled in case you don't speak Australian.

  • If like me, you're going for primed MDF boards, wear a mask when you saw as it's toxic stuff. 

  •  Get more adhesive than you think you need. If you don't you will run out half way through a board and have to scrape it all off. 

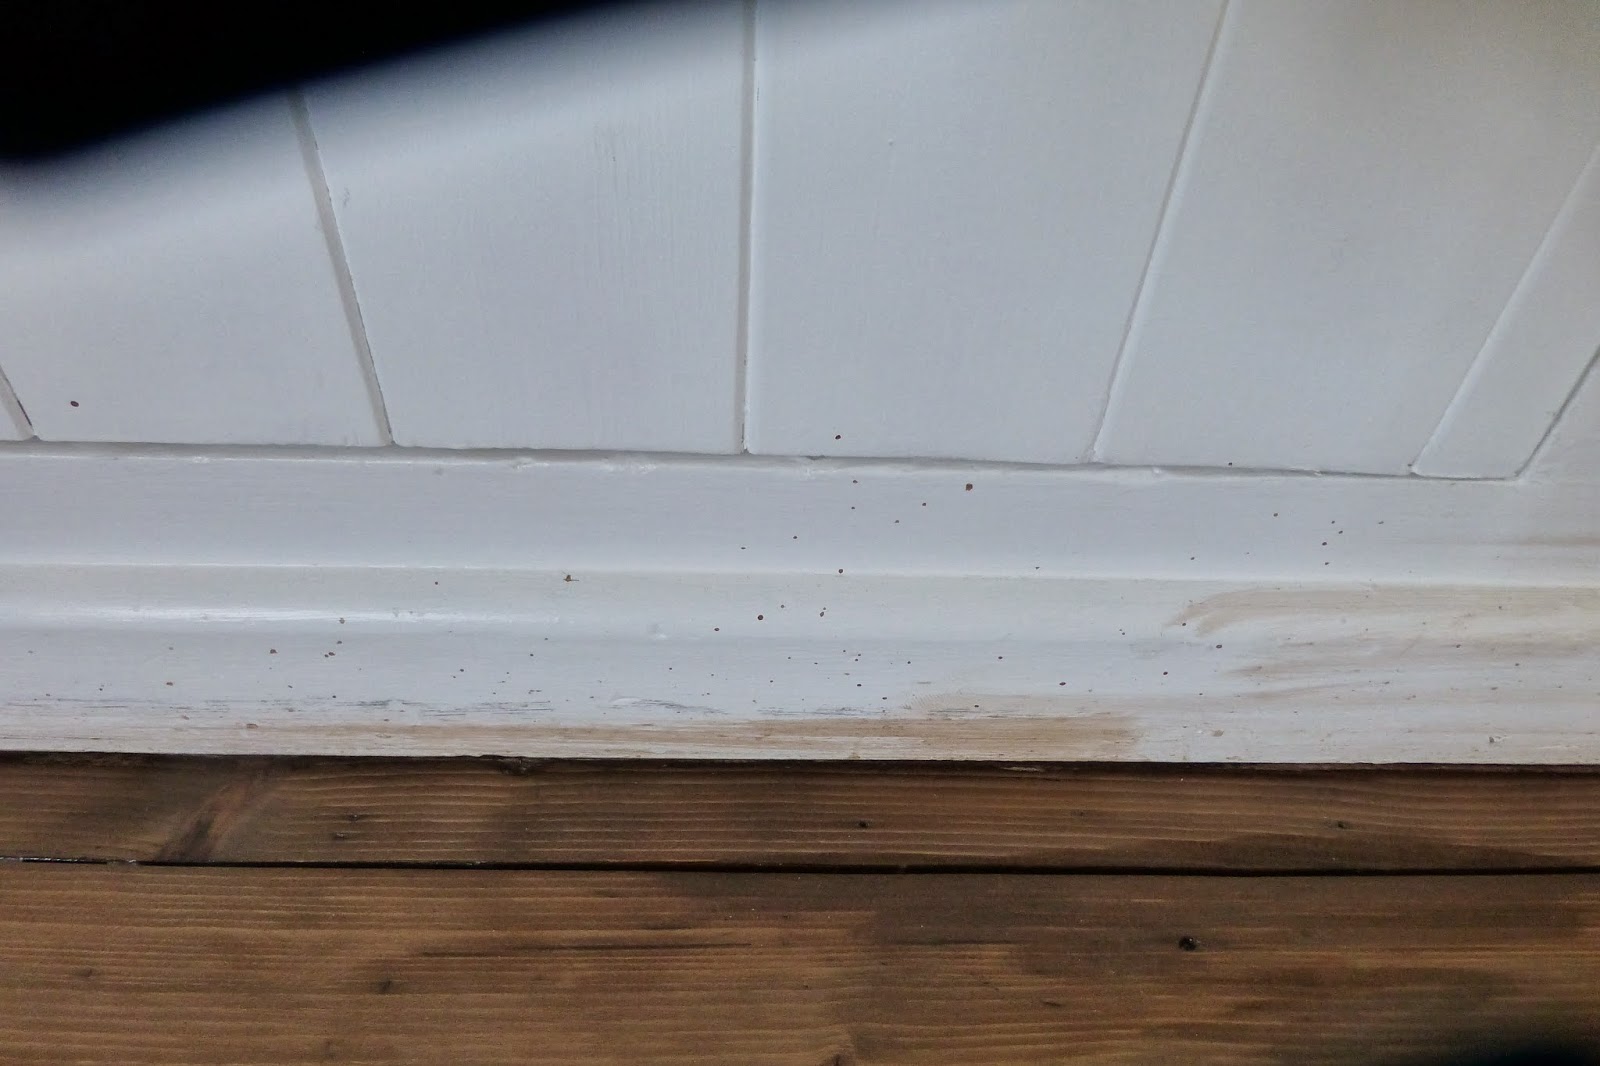
  •  I thought it would be a good idea to have a join under a radiator as it wouldn't really be seen. Dumb move. I totally cocked it up and ended up with two joins. It's the first thing you see when you walk in the room as you don't put furniture in front of a radiator. Doh.

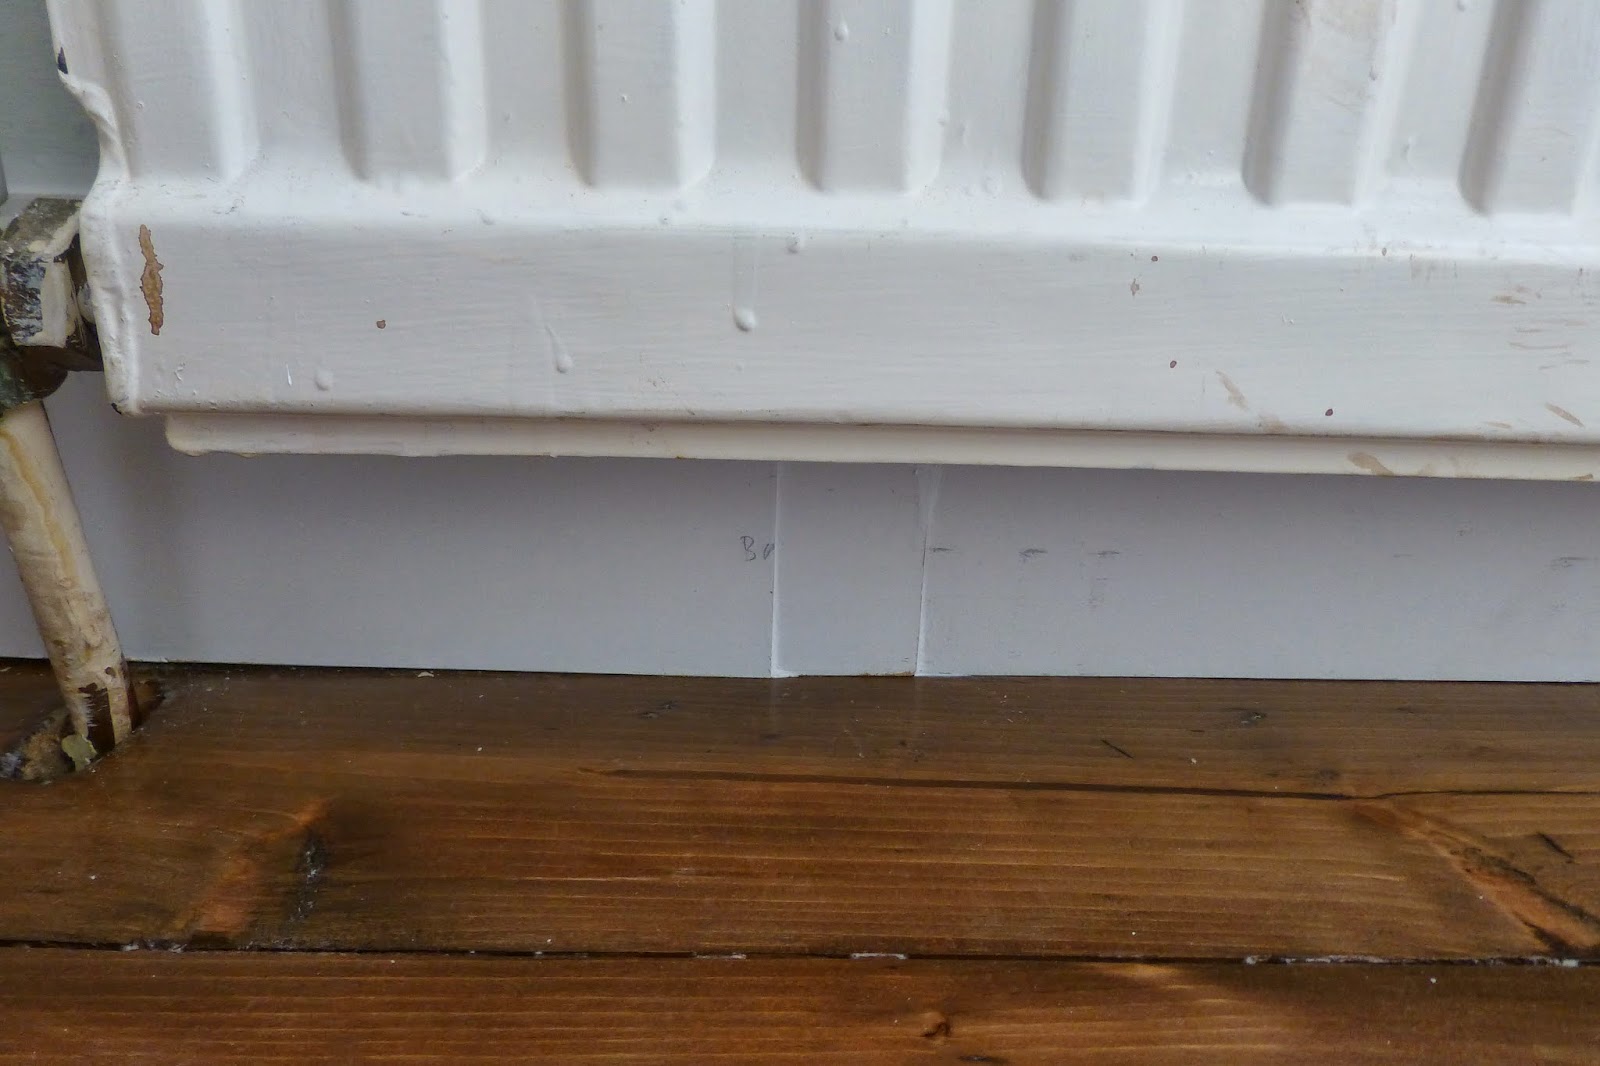
Disaster! And don't look at that shoddy radiator, I shall paint that too at some point.


  •  Decorators caulk is your new best friend. It makes everything perfect. Or just perfect enough...

  •  Primed boards mean there's no hurry to paint them all. This is a huge plus because you'll be so bored of them by the end of installation, you really won't want to paint them.

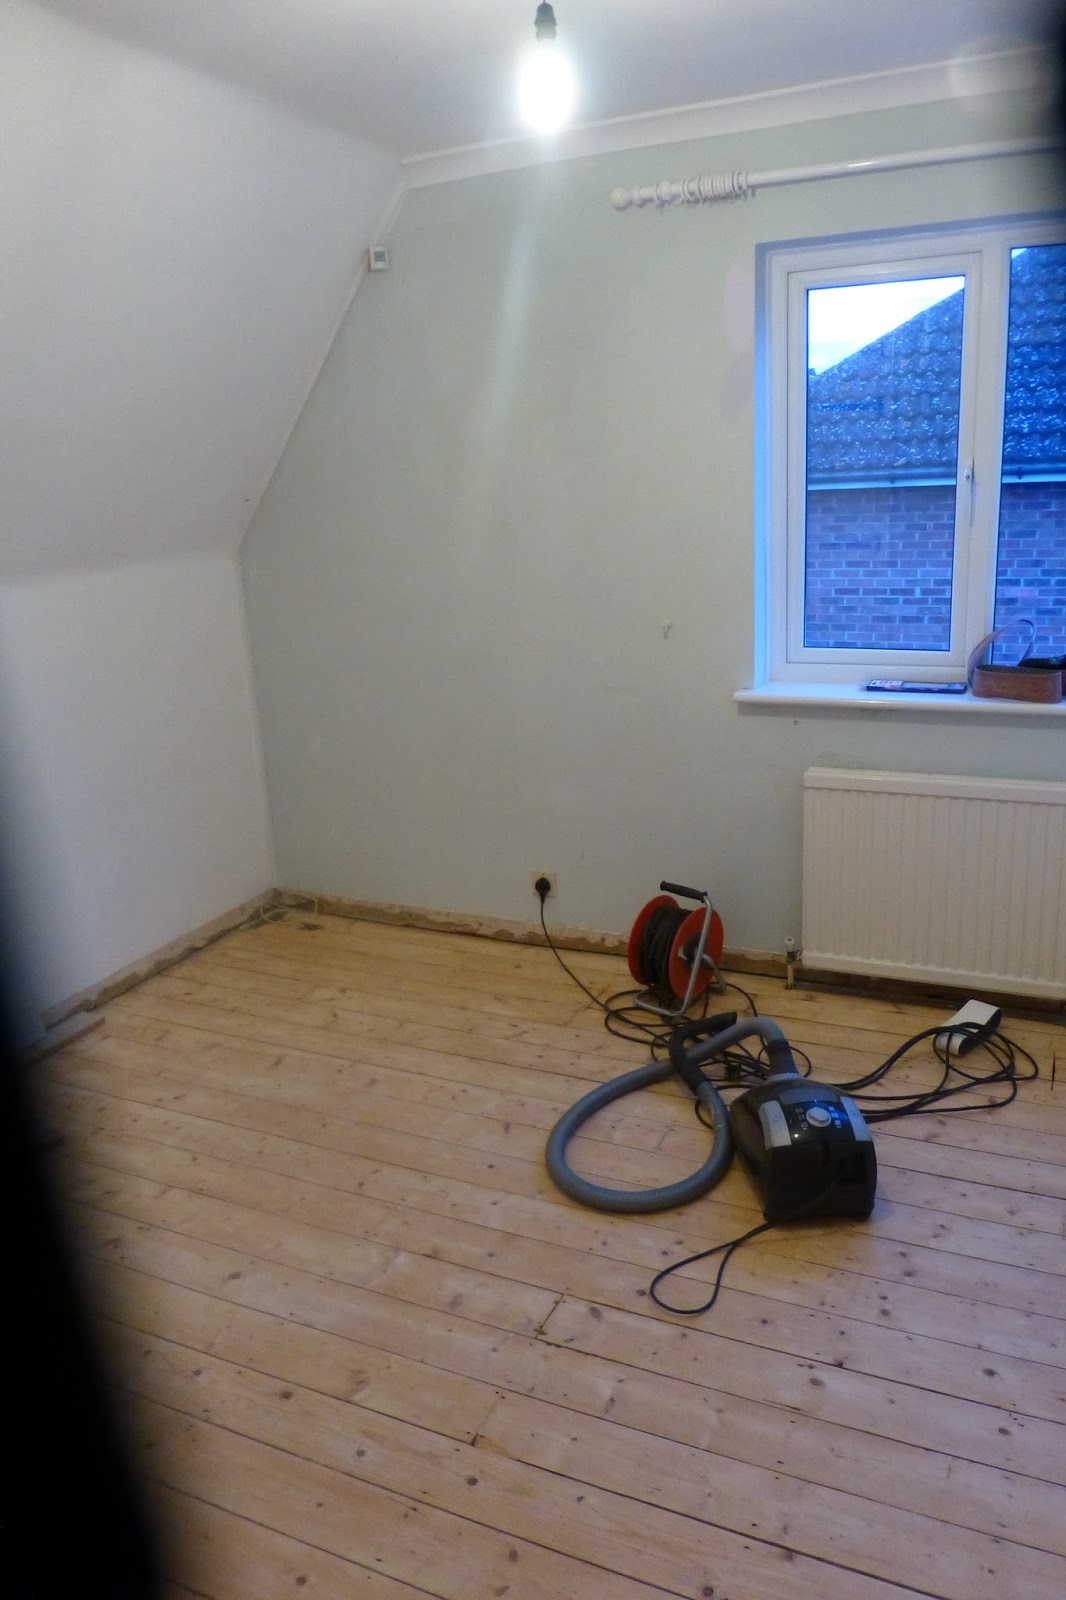
It took me a day and a half with a simple mitre saw and no power tools. I have no muscles so it was tough going. I also had to cut a conduit whilst it was attached to the wall, without damaging the cable that was inside it. I had to remove other bits of architrave round the door and the cupboard which was a real faff.

I'm really getting no enjoyment from my DIY at the moment. It's going okay, but not spectacularly good. The worst thing is, when I finish something, I just think I have to do it all again in two more rooms and the landing so it seems never ending and a little overwhelming. There's my whinge for the day.

As I say, I've lost interest in skirting boards and haven't painted them yet. I always find, the best thing to do when you're 98%  finished on a project is to start a newer, much more exciting one. With this in mind, I dragged my husband off to Travis Perkins where we argued about timber and eventually ordered five 3.9metre long scaffold boards. Yeah baby! They come on Thursday and I cannot wait. I will not be scaffolding with them.
Watch this space...

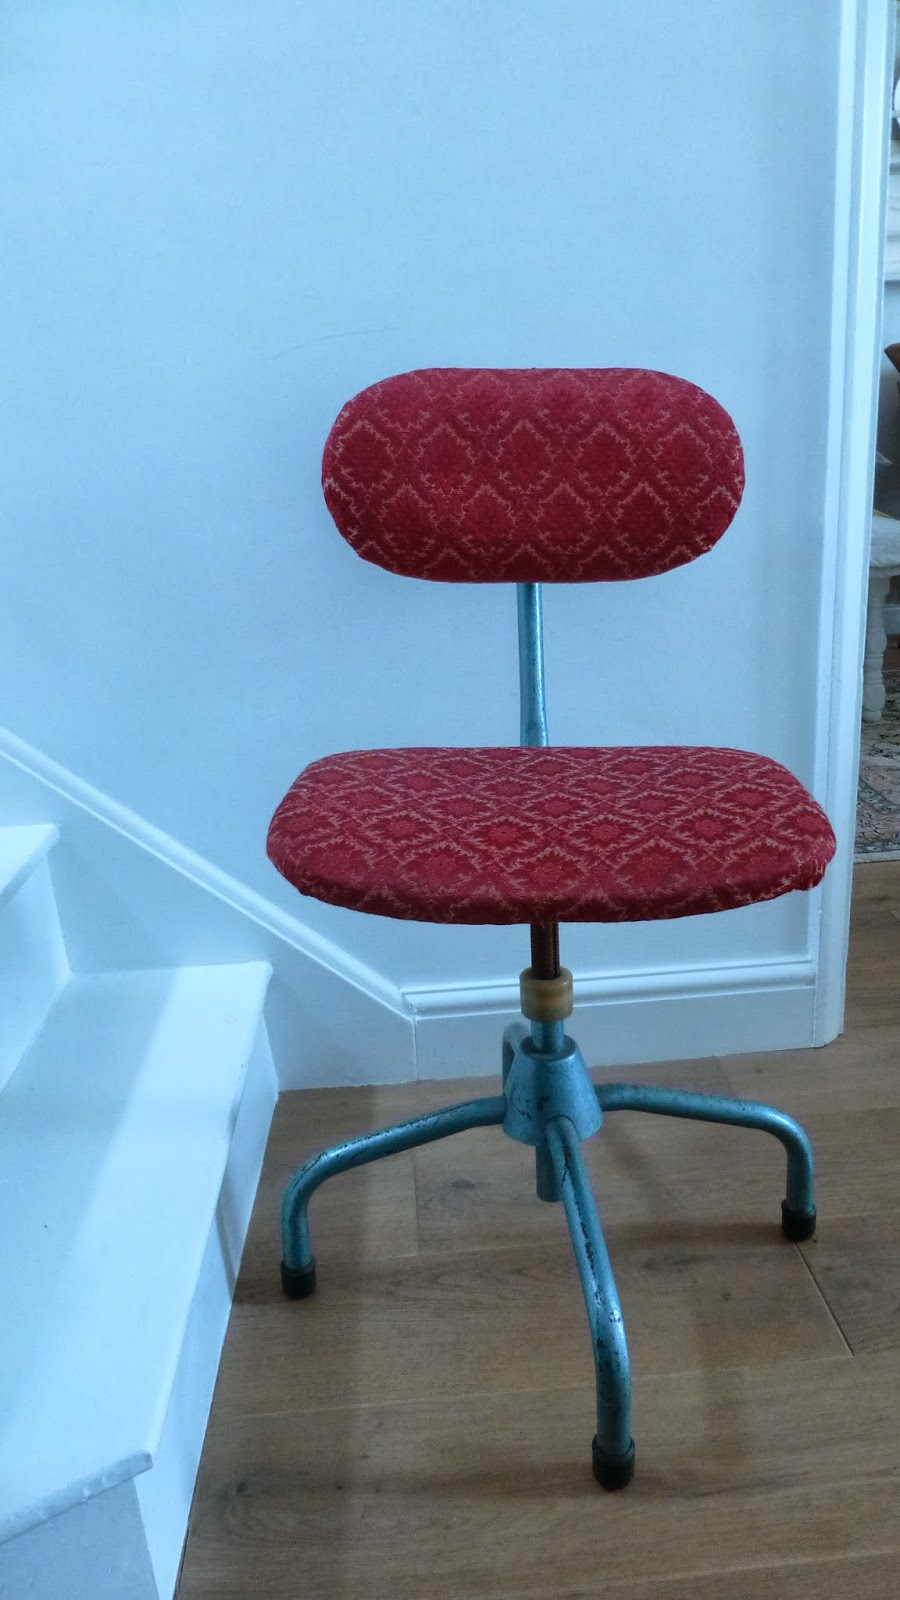
Oh and that desk tidy? It's also great for keeping your cats tidy...

Bad Bobby.


Ivy and Elephants


Tuesday 18 March 2014

Secondhand Scores...

I've been up to my eyeballs in curtain shortening, door painting and valance planning. Yes that is a thing. My daughters room is coming together even if it is very white so far. We need some colour injected in to the space or she'll leave home. And she's only seven so we don't want that.

I've also had to paint over the mess I made whilst staining the floor. Wood dye is very spattery...


I'm still making time for car boot sales and the flea market although my chazzing has fallen by the wayside. Time for a roundup of my most recent second hand shopping goodies!

First up, this gorgeous rusty old paper sorter desk tidy thing I found at the flea market. Heaven knows I need a tidy desk!


I like the little card holders...


Next this lovely table I got at the flea market for a bargainous £20. It was FILTHY like it had lived in someones garden. It was home to lots of spiders and even a snail! I scrubbed it down on the patio.


I like the original painted legs so I'm not going to tamper with them.


 But that top? It's crying out for wood bleach if you ask me.


Er, and some woodworm treatment. Then it can live happily behind the sofa.

[All these black corners are caused by the camera being dropped and now the shuttery covery thing won't open fully. Oops.]

 I found another of these vintage religious prints.


I still haven't thought of a place to display them but I have a few now. Perhaps we could have a downstairs loo/monastery. I do like rooms with more than one function.


I got this cool vintage chair with an industrial vibe and some godawful upholstery.


It looks wonky. I think that's just my dreadful photography.

I plan to strip off the metallic blue and get back to unpainted metal and recover the seat.

Do you remember this seat?


Well, I had a disaster with it. Once I took it all apart and re puffed up the collapsed cushion, the tapestry top no longer fit on it. I tried to stretch it and it tore a bit. Hopefully I can turn it into a cushion at some point and find some other fabric for the top of the stool. Some you win...

But the chair will go by my desk instead.

Last of all, I've been hoping to find a full length mirror for my daughters room and I got one at the car boot sale this weekend.


Sorry, another truly dreadful photo. You can't even see it.


  But it has bevelled glass and looks very Laura Ashley to me. It was £5. Woop woop!

Later today the skirting boards arrive and hopefully I can show you progress on the room soon. Speaking of skirting boards, now we're going to have deep glamorous skirting, I'm very much looking forward to using this...


It's a self adhesive Pretend mousehole to fit on a skirting board which I'm sure you'll agree is just the best thing EVER. I just love anything with 'pretend' in the title.

Legend has it that they're painted by an artist called Helene and she painted the first one lying on her belly for eight hours. Printed stickers are somewhat easier to use. There are several designs, something for everyone and they're only £2.99. You can see them all HERE.

Right then, skirting boards...


Link


Thursday 13 March 2014

Great Interior Design Challenge SERIES TWO!!!

Hooray, hooray, I've just been asked by a lady from the Great Interior Design Challenge to ask you guys if you'd like to take part in SERIES TWO! I'm so thrilled there's going to be a second series!

Sadly I cannot enter as it takes me three weeks to finish just one bedroom floor and I cause sanders to catch fire in the process. It's just not what clients want I'm afraid.

But you people, would be awesome I just know it. You don't have to have a blog. If you are an amateur interior designer then this is for you.  

Just think; you could ask Sophie where she got her orange dress from and gaze upon Daniels tartan trews.
 
You need to apply asap to designing@studiolambert.com

Chalkysoil? Jumblejack? All the people with opinions about the last series? The thousands of you who read my previous post?
Come on and show us what you've got!


Wednesday 12 March 2014

Finishing the bedroom floor...

Hello stranger. I've been up to my neck in floor prettifying whilst juggling single motherhood as my husband was away. The floor is done, just need the skirting boards and I need to repaint the whole room which I'm halfway through. I only had one slight emotional breakdown over the weekend so I call that a success.

Sander number 5 finished the job beautifully.

The whole idea I had of washing the floor with watered down paint didn't work out at all. Fortunately I did some tests on a piece of wood so I didn't ruin the freshly sanded floor!


 The other thing that concerned me was that we have this black iron bed. It's an M&S bed that I bought for about £60 on ebay years ago. I know! A total bargain. (We got a new mattress for it.) The rug is also darkish as it's navy blue.


 So I thought that a black bed and a dark rug in an all white room might be too much of a contrast. I don't want to paint the bed.

I decided to stain the floor instead. I hoped this would just tie in the dark bed, the pale cupboard doors and whatever else will go into the room.

I had one stain already and I bought a few more. Yes some of them are expensive but if you're going to do this job ONCE and get it right, I think it's worth the money. Most of them I can use on other projects.

I wanted a rich brown. Not too dark. No red tones and certainly no orange. Again, I tested on a plank and took it up to the room to decide.


Rustins Walnut? Too purple

Rustins Medium Oak? Too orange. (Incidentally this was EXACTLY the same colour as Wilkos Georgian Medium Oak. Which is cheaper.)

Wilkos Jacobean Dark Oak? Too black. No warmth.

Colron American Walnut? Nice. A brown brown with warmth. Not too dark.

Colron Indian Rosewood? Also lovely but a little darker than the walnut. Rich and warm.

I went with Colron American Walnut. Warning: These things STINK.

It says on the can to apply with a rag. I applied it with a brush. There are gaps between my boards and a rag wasn't going to reach in there. I wiped it off with a rag.

It says on the can to do one coat. I did two, finding the colour far more rich and intense. Such a rebel aren't I?

Then I did 4 coats of Roneal Diamond Hard Floor varnish in gloss. It's not a really 'glossy' gloss. Hence 4 coats. But it's tough. It's also quick drying and won't yellow as it's not oil based.


And close up?


Aah, that's better.

Top tips...

We all know about not painting yourself into a corner don't we? Well, don't paint yourself out of a corner and towards the door leaving the stain lid on the windowsill in the corner!

Don't think you can be clever doing two jobs in one with a coloured varnish. When it scratches the pine will show through. A stain actually penetrates the wood so that scratches to the surface won't show.

Open a window so you don't get high/sick/dizzy.

And there we have it. My knees have just about recovered. It's a big big job. Unfortunately we have another two bedrooms and a hallway to tackle.

Something nice to sign off with: We've three ducks in the garden today.


 They're very hungry and very thirsty. Two boys and a girl.


Bad Bobby and Fat Freddy are fast asleep upstairs thank goodness. I hope they don't nest here as I couldn't bear it if the boys brought me little dead ducklings. I think I'd have to put them under house arrest until the ducklings left.

Right, better crack on with that painting...

Link


Saturday 1 March 2014

Floor sanding dos and don'ts...

It's been a trying week. I've used FOUR sanders and I still have a way to go. The brown stain is off but I still need to go over the whole floor with a finer grit for a really smooth finish.


Here are my dos and don'ts so you can learn from my mistakes;

DON'T use bulldog clips to close the dust bag on the sander when the zip fails. You'll tamper with the air flow passing through the machine and cause it to clog and catch fire.

DO throw it out the window once it's on fire. Unless pedestrians are passing beneath.

DON'T hire a floor sander if you are home alone. They weigh 40 kilos and getting it out of the car and up the stairs will almost kill you. You will feel hernias bursting out of your abdomen. And you'll damage your painted stairs which you'll have to paint again. Everyone will think you're OCD about painting your stairs every few weeks.

DON'T hire a floor sander full stop. Time spent attaching sandpaper; 30 mins. Time lapsed before sandpaper shreds itself; 6 seconds. Hateful things.

DO hire an edge sander. Bloody brilliant!

DON'T think you can leave the bed in the room and just move it about as you need to. You'll mark your freshly sanded boards as you move it about. So dismantle the damn thing before you start, even if it means the mattress has to stand up on the half landing. For a week. 

DON'T buy a Challenge Extreme sander from Argos. You'll shred £7 worth of sanding belts in minutes as the belts slip and you'll have to take it back, walking through town covered in dust with no make up on and wearing really sad combat trousers. You're bound to run into several people you know. Who want to chat.

So there we have it. I'm currently sander-less as the new one I want is on order for Tuesday. TUESDAY! That stuffs up my entire weekend in which I was going to get the damn floor finished.

I could weep. And very nearly did.

The Hire Centre guys were fantastic! They didn't charge me for the floor sander as I couldn't use it. Not really their fault. But I will use them again because they were so kind. (Not really sure they want the return custom of incompetent DIYers though...)

Argos are always brilliant if their cheap products fail to work properly. But I think I'm going to upgrade to a Black and Decker next time. What's the saying? Buy cheap, buy twice?

Also, I have been providing some emergency childcare for 3 days which has added to the delay in finishing this floor. Honest. I know I'm sounding like I'm full of excuses...

On a positive note, my husband and I did manage to get the skirting boards off in the room! Yay!


Even the tricky bit behind the radiator pipes.


Bad Bobby and Fat Freddy are not impressed with all the noise and upheaval. They've taken to my unmade bed...


And who can blame them?