Wednesday, 20 November 2013

Country cottage door reveal...

Well isn't it just like 'Homes under the Hammer' around here? Except instead of fixing up a whole house in 6 weeks, it takes me that amount of time to change some doors.


Let's remind ourselves of the unpleasant doors that were on the cupboard in my daughters room...


             They were so ugly that I allowed the sticking of picures on them to try and hide them.
                       They were hollow and shoddy. But the frame is solid wood and well built.


               Hoorah! Much more yummy. Because I clad both sides in timber the doors feel very solid.

                                                                    And those edges?


                                                    They all got filled, sanded and painted...


                                         ...and look just like the edge of a door should.


            The door cladding and hanging process was a LONG one that you can read about here and here. 


                                                               Let's see the inside before...


                                                                        A junky old mess.

I thought it would be a really nice surprise for my daughter if I painted the inside in one of her favourite colours.
                 This decision may have been influenced by finding an ''Oops'' paint for £1 a litre.
                                                                        She hates it.


I had to saw off some shelves and add a rail, which would've been fine if I hadn't mislaid a screw for 45 minutes.


I like the pink. It makes me think of a boutique.

I added hooks to the interior where my cross pieces were between the layers of tongue and groove so that madams handbag collection is out of sight...


                                         They used to hang on the wall and it looked messy.

I used Blackfriars problem solving primer all over the bare wood twice. It's pefect to seal knots and will happily work with waterbased paints unlike knotting solution.
For the top coat I used Dulux waterbased Diamond hard satinwood in TRADE paint. I wasted nine quid on their regular paint earlier this year and it was so poor, I couldn't use it. It was so thin and watery. But the Trade paint version was 10 times better and I was very happy with it. Always go for trade paints!


The hinges and handles were just bog standard ones from Wilkinsons. You can find hand forged wrought iron jobbies all over ebay but we don't live in a sixteenth century cottage so I couldn't see the point. I'm all about getting the look without spending the money.

I still need to add catches so the doors shut nicely and do a little sorting of this area...


at the side of the cupboard...


...but it's getting there.

99% done is good enough for me.  I'm off for a lie down.
I'm over the moon with how this has all turned out. I've really not done much of this sort of thing before. I've mended furniture, put up some cladding, and stuffed up a table top but never attempted anything of this magnitude. There'll be no stopping me now! And if I can do it, anyone can.

Link


Furniture Feature FridaysTreasure Hunt Thursday
The Shabby Nest
Link

Family Home and Life
Ivy and Elephants

Saturday, 9 November 2013

The cupboard doors...

I still have a long way to go with my cupboard doors. I've had a few set backs to contend with. My dad dissuaded me from buying a jigsaw so I tried to do the whole thing with a hand saw. I quickly realised this was futile for  the following reasons;
-I have no muscles.
-My husband blunted the saw cutting down a tree.
-It will take me a year to finish the doors as it is SLOW.

Also I was merrily sawing away and a piece of my tongue and groove snapped. I had to take the entire front of one door off as all the bits are glued down every join. I could have cried. (I didn't. I just slammed a few doors.)

I bought a little Black and Decker jigsaw and I'm thrilled with it.

 I've been working really hard on the doors, ducking out to saw or sand between the showers and I've had a blast. I decided that if I could get these doors to hang right and if they fit, I'm not only going to build a walk in wardrobe in the master bedroom, but I'm going to have a go at building window frames for the garage too. I've seen it on youtube and it doesn't look too hard. I'm now a qualified chippy having graduated from the youtube school of carpentry.

So where were we?
Ah yes, when we last discussed the doors I was at this point...


...having ripped off the front, sanded off the protruding lip and clad the front with tongue and groove.

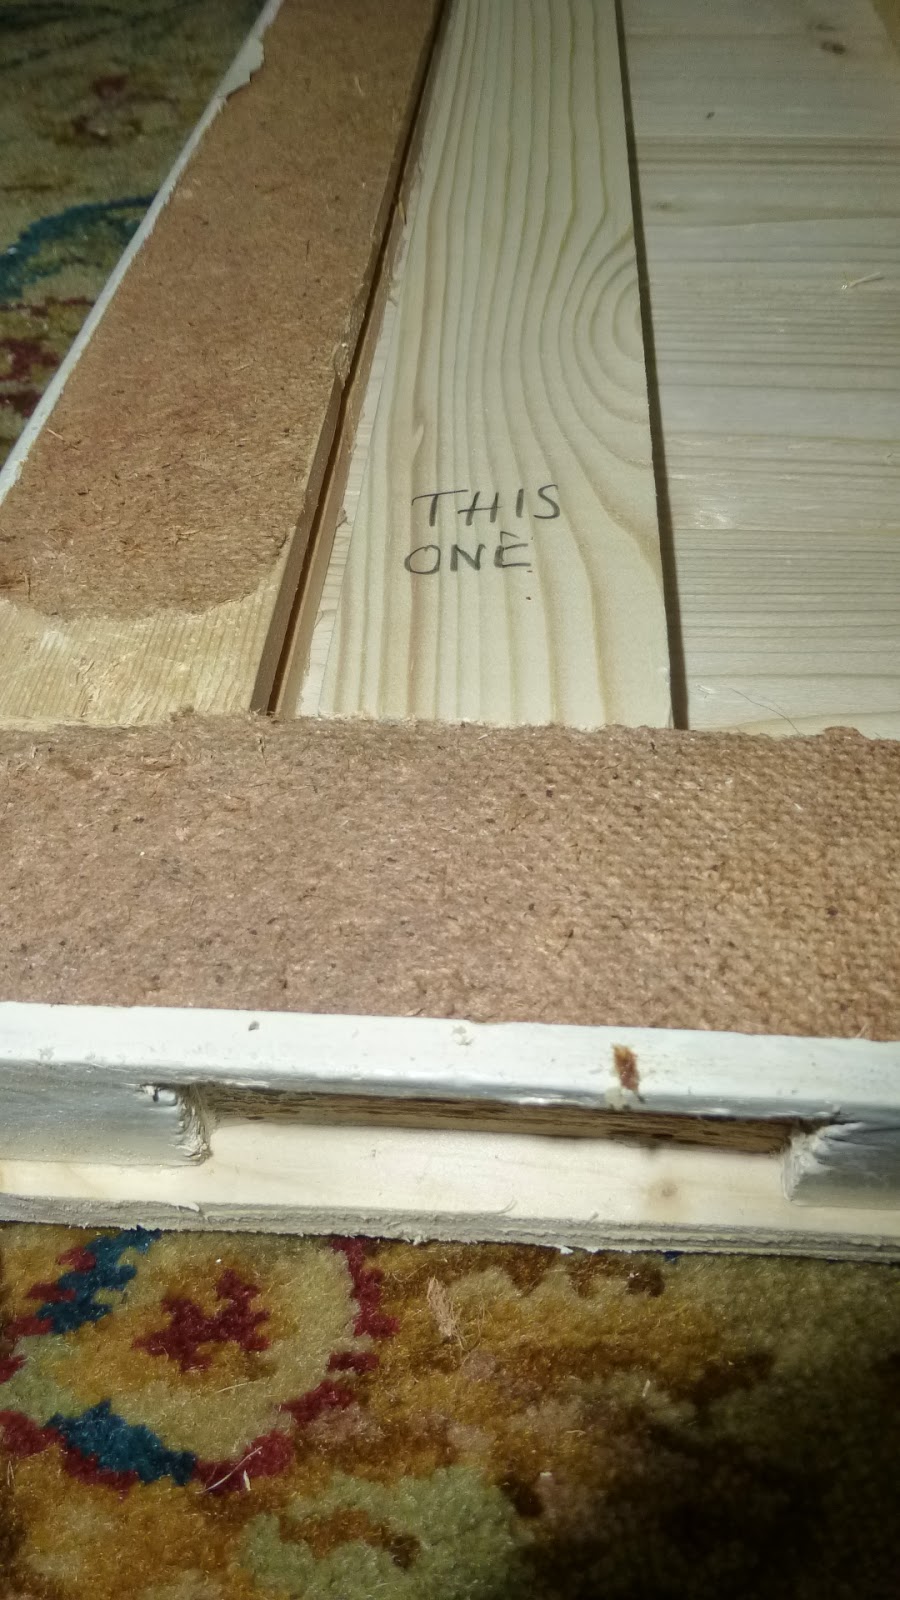
I cut roughly round the door leaving a few mm to sand down. Next I flipped the door over, ripped off the back and sanded off the protruding lip that the hardboard sat in again...


Now you can see inside the door. On the cross bits of the inner frame I added a fatter piece of timber wherever the original hinges were. The new T hinges are mounted onto the face of the door so I needed something sturdy on the inside to take the weight.


The new hinges are going in the same place so I just went by the old hinge holes to see where to add wood.

Then I clad the back in tongue and groove, trimmed roughly round the edges with the jigsaw and sanded all the edges smooth.


They were starting to look like doors. The side edge shows the three layers sandwiched together...


...the original door in the centre. The door is now much heavier and much thicker than it was before. A word of caution here if you're thinking of doing this. Get the thinnest tongue and groove you can find. And make sure your door will fit back into the frame when it's fatter.

My door frame is constructed like this...


It's just an opening. If you were going to attempt this on a real doorway into a room the frame would have this...


...a piece of wood that makes the door shut and not swing both ways. I guess you could rip that off and put a new one further back so that the door didn't stand proud of the door architrave but it would be a lot of hassle. Also you need a wide flat door frame to accommodate the T hinges or you might have to cut into your frame. Again, a lot of hassle and it's going to look odd.

After a quick youtube masterclass on door hanging I realised I needed packers. These are great little things. They come in different thicknesses and you pop them in around your door trying to make sure that the gap around the door is equal on every side.


I loosely fixed a handle on so I could get it open again.

With T hinges it's best to attach them to the frame first and then the door.


At this point I was jumping for joy. The door opens and shuts!

Two more to go...


Wehey!

I decided to move the hinge side to the far side on the sloping door. I thought it would be nice to stand in the middle and open both doors rather than shimmy around to open the other one. Having done this I now see why it wasn't designed that way. The pointy top of the door hits the sloping ceiling. I might attach a chain so the door only opens so far or swap the hinge side back again. Not sure...

The door handles need placing properly, then I need to take the doors down again, punch down a hundred panel pins, fill the holes, treat the knots and paint the doors. But I'm relieved all the outdoors work is over and I can potter away on the rest of the job in the warm.

My daughter is not happy with the doors. It's not what she wants. She wants a wardrobe like this but bigger...


This is Rapunzels wardrobe and is about 6'' high. 

Failing that, she wants me to paint birds, flowers and rainbows on the doors I've slaved over. I won't be mum of the year because I can't bring myself to do that. It seems seven year old girls like all things blingy and bright and do not understand why mummies want everything to look old.

Until next time I shall be working like a dog to get these doors finished. Whether my family appreciate them or not.


Friday, 1 November 2013

So... Hallowe'en...

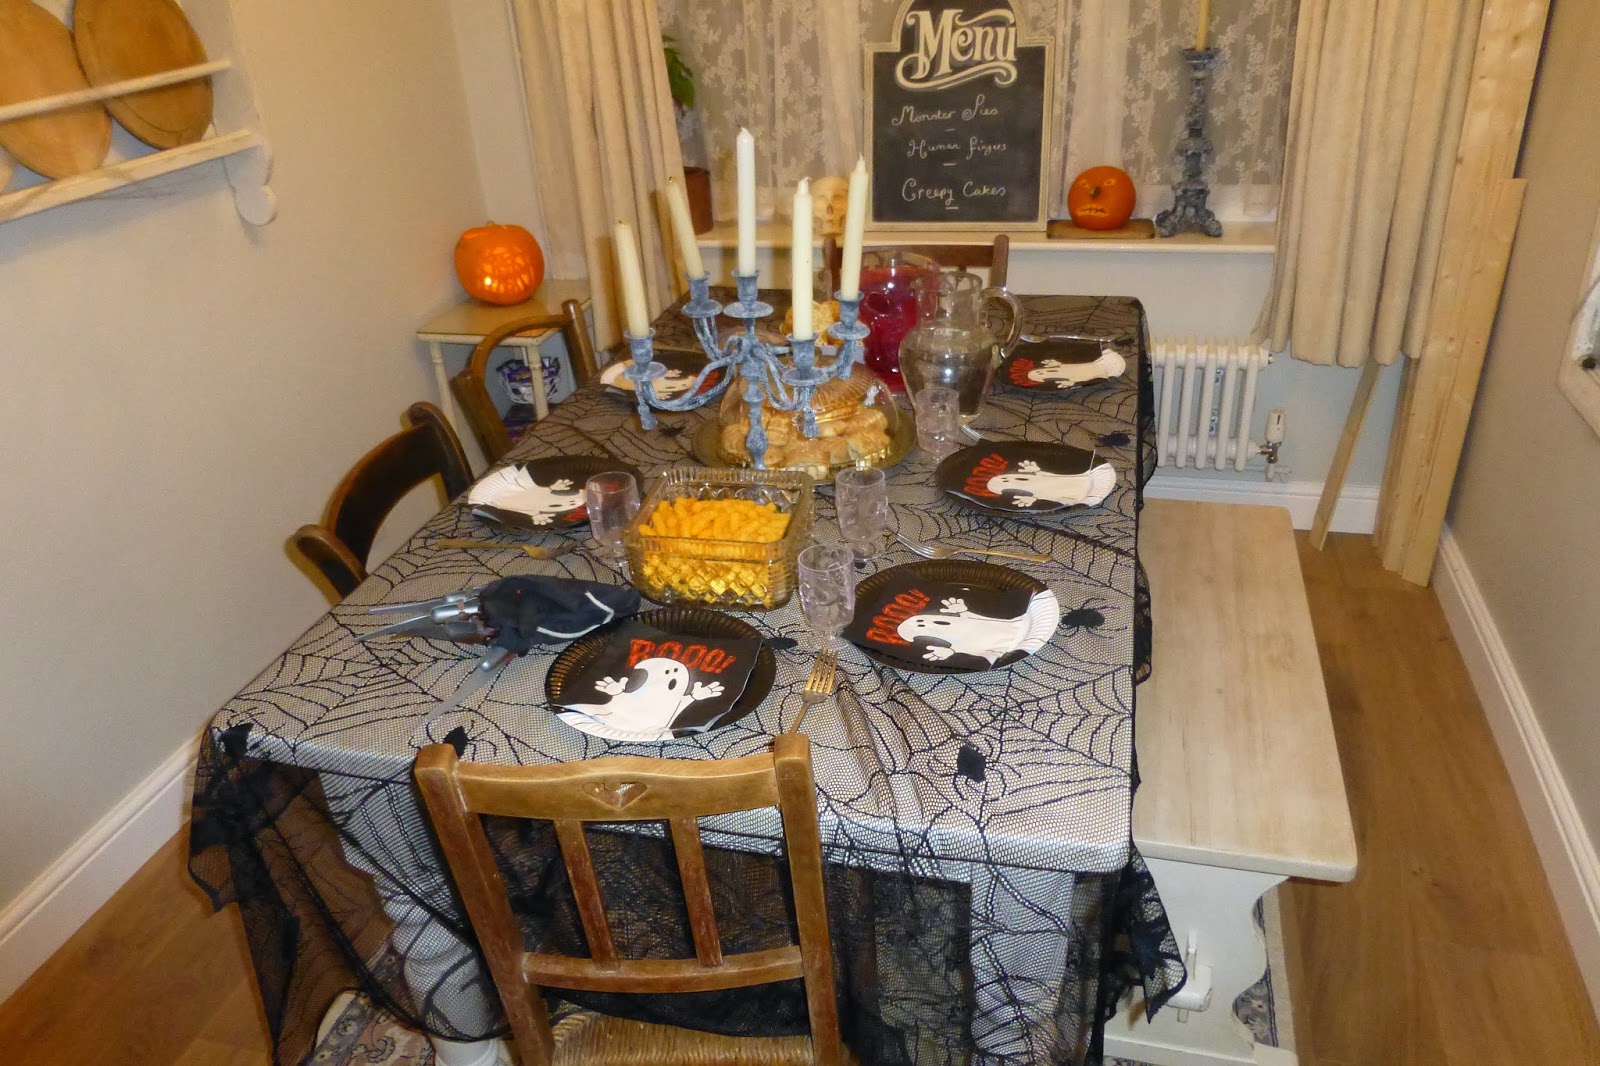
I should have written this post yesterday but it was all a bit frantic round here as we were preparing for our Hallowe'en party. My daughter has had the most miserable half term as she's been poorly for the whole week. We had a trip to the doctors yesterday and she found no sign of a chest infection or anything and declared her to be not contagious so the party went ahead. Because we'd spent the morning at the doctors I was way behind on my Hallowe'enery. The afternoon was a blur of activity.


We always do a fancy shmancy pumpkin with templates and a Joost Elffers tribute pumpkin with the stalk as the nose. I love the work of Joost Elffers.


We had seven seven year olds and we were clearly on the same wavelength as they thought everything was ''So cool.''

idea from Pinterest

In a few years it will all be ''so lame'' and I will have to up my game.
And actually scare them!


The dresser made a great gruesome display cabinet.


Morrisons supermaket is where we found some cool new decs this year, like the fingers here...


...and the blood splattered arm.

Not to mention the cockroaches...


At last, a practical use for a white painted staircase!


The girls enjoyed their tea party...


And there were cobwebs galore...


Then we all went Trick or Treating round the neighbourhood. They were very happy with their overflowing
buckets and their going home presents...

idea from Pinterest

Now it's all being boxed away in the loft along with a few 75% off bargains I picked up today for next year.

I hope you all had a good Hallowe'en.

Right then. Christmas...


Sunday, 27 October 2013

The calm before the storm...

I'm afraid I've had little time to work on my doors. We spent much of yesterday clearing the garden of accumulated DIY crapola and taking it to the tip. I was very good and didn't bring anything home. There might have been a long lingering glance at a beaten up chest of drawers but I was very restrained. The reason for this clear up? A big storm is due this evening and we don't want to be responsible for one of our stray doors flying through someones window in the middle of the night. We are battening down the hatches, moving flower pots and garden furniture out of harms way.

This morning we set off at 6.20 to sell at the local boot sale. It was tipping it down when we left but dried up fast and we did very well. So well that Jason wants to do another next weekend. I'm happy to wait til spring!

I'll show you what I found a few weeks ago for £2 at the boot sale...


 This galvanised metal basket was £2. The top was nice metal. The bottom was coated in green plastic rather like the handles of an old shopping basket. I spotted potential but I must have spent two hours scraping off all the plastic with a knife! 


This little enamel number I bought separately from eBay to make it look like an old swimming pool locker. Erm, from a really big pool with one and a half thousand lockers. Hmm, I didn't think that through. Anyway, it adds a bit of industrial chic to the towel pile.

And without mentioning the 'C' word, (it's improper until after Hallowe'en) look at this years bauble harvest so far!


This is my favourite, it dangles on a spring...


It was very hard to photograph as it wouldn't stop bouncing!

This one is massive...


These two are unusual


I've never seen one like this before...


...it's indented on both sides...


...and this one is just beautiful...


We're going to be gearing up for our Hallowe'en party this week so I'll be back soon to show you the decorations.

Stay safe in the storm! 


Wednesday, 23 October 2013

Cupboard update...

First of all, let me tell you what my husband thought of the lamp makeover when he came home on Sunday. He said the stripes and the emblem reminded him of a SPORTS LOGO!


Yes. He thinks the stripes are a bit NIKE. He wouldn't know a grain sack if I threw one over his head and throttled him with it.

My daughter is hurt that her initials are not included.

Everyone's a critic. Luckily I'm still happy with it despite the whingeing.

Okay, so onto the cupboard doors...


I took off all the posters. It looked better already.

The door was a nightmare to get off. The hinge screws had been painted over many times. It was one of those doors that once all the screws are taken out, will stand there quite nicely held in place by paint alone. All our doors seem to be like this.

I had a slight change of plan. The problem with sticking cladding all over what is essentially a hollow door,
 is that the hinges, which are face mounted, are screwed into nothing. So it's not going to be very strong.


I decided to pull off the face of the door to uncover the skeleton inside. This means I can add beefier horizontal pieces of timber inside the door where my long hinges will be placed and the whole thing won't fall apart.


This was very therapeutic!


So now the whole front panel was off but that panel actually sat in a slight recess. All around the edges of the door was a little lip...


It looks big here, it was actually only 2mm deep. It's the white part in the photo.

I needed to remove this so that the cladding laid flat on the inner framework of the door. As I don't have a plane I used my belt sander and it only took a matter of minutes to level it all up.


I left the back panel in place for now. If I took that off the door would probably lose its rigidity and bend out of shape. Those central bits of timber seem to be just glued to the hardboard panel and nothing else so if I took the back panel off, I think they'd all fall out.

Time to clad!

I'd already figured out that I needed to start in the middle and end up with two thinner boards at the sides of the doors... you don't want to start at one side without planning where your boards will end up. You might have a full board at one side and a piddling little strip at the other side which won't look right.

 In order to get the first board in the right place I had to mark the middle of the top and bottom of the door, and the middle of the back of the  board (not including the tongue) and having glued the door front and turned it all upside down, just made sure the lines met up.


Then I placed lots of heavy things on the door and left it overnight for the glue to dry. I couldn't flip it over to panel pin it as the board would have moved.

So, day two...

I panel pinned the first board and carried on with the cladding...


I glued where I could and panel pinned into the inside frame.

As you can see, I've left all the edges overhanging rather than pre cutting the boards to size. I'll cut them all level afterwards. This makes the job easier as I'm not having to line up the boards as I go and it should make the end result straighter.


One side done!
 
I don't know if I'm doing this right but it seems to be working so far. My dad has been consulted over the phone several times! Not that he's done this before either...

I'm really enjoying it and I've decided I want to be a carpenter when I grow up.

I have added incentive not to stuff this up. If this cupboard makeover works out, I might be allowed to build an entire walk in wardrobe in the master bedroom. Ha! I have no skills in carpentry whatsoever, but I do know what I want it to look like so I reckon I can wing the rest. And I do NOT want to get a man in to do it! I don't want some laminated chipboard jobby.

I'm off to invest in a jig saw later so I can continue...

In the meantime, there's a huge pile of ironing and a box set of Breaking Bad to keep me occupied. Back soon!


Monday, 21 October 2013

Alpenhimmel Shop discount for all readers...

The lady who runs the Etsy shop I mentioned in my last post has kindly offered my readers 20% off all orders placed between now and 31st October.


The code you'll need is PAINTEDSTYLE.

Here's a link to the Alpenhimmel shop.

So if you were tempted before by gorgeous copper dowry stencils...


or vintage laundry labels...


even vintage wallpapers by the yard...

Oh my!

...or any of the other lovely things in her shop, now is the time to buy!

I've just bought some vintage wallpaper as I get 20% off too! Surely I must now have enough for the patchwork vintage wallpaper wall!

Happy shopping!

 [ Is this a sponsored post? I had already published my previous post before Charity from the Alpenhimmel Etsy shop wrote to offer me and you readers 20% off. I will always tell you about the products I find, use and love. I loved the little stencil so much that I recieved it, used it and blogged about it all in one day! ]